 clayworkshop.com
Coil Construction Basics
You will be able to roll uniform coils and join them securely to build vertical or sculptural forms.
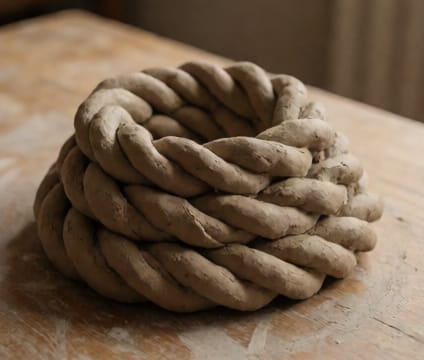
Begin by portioning a working piece of clay and rolling it between your hands or on a smooth surface with light, even pressure. Keep fingers steady and move them in alternating directions to maintain a consistent thickness. Avoid tapering or kinking—aim for a uniform rope-like coil. The coil should hold its shape without sagging or cracking as you work.
Place the first coil on a flat base or previous layer, scoring the mating surfaces lightly with a needle tool or fork to create grooves. Apply slip—a slurry of clay and water—to the scored area, then press the new coil firmly into place. Overlap and blend the join by smoothing with fingers or a rib, compressing the clay to eliminate voids and improve strength.
As you build upward, rotate the piece gently to maintain stability and symmetry. Use supports like crumpled paper or foam inside the walls if needed for taller forms. Allow each layer to stiffen slightly before adding the next to prevent slumping. Once complete, let the piece dry slowly covered in plastic to reduce stress cracks.
Key points
- Roll uniform coils with steady, alternating hand motion
- Score and apply slip before joining coils
- Press and compress joins firmly for structural strength