 clayworkshop.com
Slab Cutting and Joining
You will be able to roll even slabs, cut clean shapes, and join them with strength and clean seams.
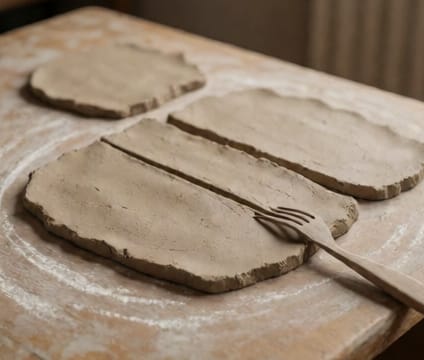
Roll clay between two thickness guides—such as wooden strips or calipers—to achieve uniform slabs. Cover with plastic between rolling sessions to prevent drying. Once the desired thickness is reached, lay the slab on a dry, non-stick surface and cut shapes using a sharp knife, ruler, or template. Keep edges smooth and consistent to ensure tight fits when assembling.
To join two slabs, score both mating surfaces deeply with a needle tool or fork, then apply slip generously. Press the edges together firmly, compressing the join from the outside in. Smooth the seam on both interior and exterior using a rib or finger, pushing clay into the joint to eliminate gaps and voids. A well-executed join should be indistinguishable from the surrounding slab.
For corners or L-shaped joins, use a slip-soaked strip of clay (a “slip noodle”) along the inside seam for added reinforcement. Let pieces dry slowly and evenly—avoid direct airflow or drafts that cause warping. Check for slumping or gaps early; correct minor imperfections before the clay firms up too much.
Key points
- Roll slabs between guides for consistent thickness
- Score deeply and apply slip before joining
- Compress and smooth seams for structural integrity