 clayworkshop.com
Pinch Pot Variations
You will create diverse vessels using hand-pinching techniques while controlling wall thickness and structural integrity.
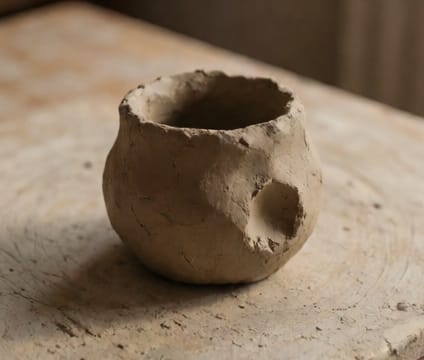
Start with a well-wedged ball of clay, about the size of a tennis ball for practice. Hold it firmly in one hand with the other hand ready to pinch. Begin by pressing your thumb into the center to form an initial opening, then rotate the ball slowly while alternating thumb and fingers to widen and deepen the cavity. Keep walls even by pinching symmetrically—start with thicker walls and thin them gradually to avoid weak spots.
For different shapes, adjust how you pinch: for wider bowls, pinch outward at the rim while maintaining base stability; for deeper cups, pinch inward and down the sides more aggressively, supporting the exterior with your other hand. Work gradually—thinning too much too soon causes cracks or collapses. Use a rib or your fingernail to smooth seams and check thickness by gently pressing the side; consistent thickness helps ensure even drying and firing.
To vary forms, experiment with asymmetric pinching—press fingers unevenly to create organic contours—or add texture by pressing tools or natural objects into the surface before the clay stiffens. Allow pieces to dry slowly under plastic to minimize stress cracks, and remember to hollow the base slightly before it firms up to prevent trapped moisture during firing. Each variation teaches control over clay behavior and spatial awareness.
Key points
- Pinch symmetrically to maintain even wall thickness.
- Work gradually to avoid thin spots and warping.
- Control drying rate to prevent cracks and slumping.