 clayworkshop.com
Slip Casting with Plaster Molds
You will prepare liquid clay slurry, pour it into plaster molds, and remove cleanly cast pieces after controlled drying.
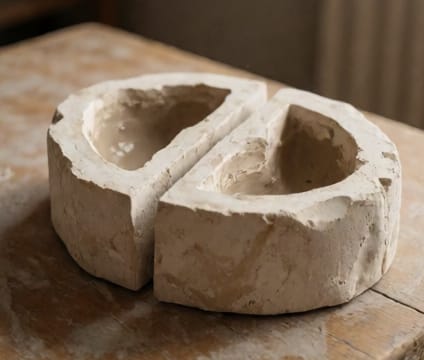
Begin by mixing your casting slip: combine clay with water and a deflocculant to reduce water content while maintaining fluidity. The slip should pour smoothly like heavy cream—too thick causes air pockets, too thin yields weak casts. Pour the slip into a clean, dry plaster mold, ensuring it covers all internal details. Let it sit for the recommended time—typically 10–30 minutes—until the outer layer firms up enough to form a clean separation line.
After the setting period, carefully pour out the excess slip, leaving a solid wall inside the mold. Wipe the mold edges gently with a damp sponge to remove slip buildup that could interfere with future pours. Allow the mold to dry thoroughly before demolding; timing depends on wall thickness and humidity. Once firm, invert the mold and tap gently along seams to release the cast piece without distorting edges.
Inspect the cast for cracks, bubbles, or thin spots—trim excess with a knife or rib and seal seams with slip if needed. Keep molds dry and clean between uses to preserve absorption power. For repeat casting, recondition molds lightly with a damp cloth and store in a cool, dry place. Slip casting enables precise duplication of forms, ideal for multiples or complex shapes impossible on the wheel.
Key points
- Slip consistency must be fluid but not watery.
- Demolding timing depends on wall thickness and humidity.
- Clean, dry molds ensure accurate, repeatable casts.